CrossFit
Why You Should Include Goblet Squats in Your Cr...
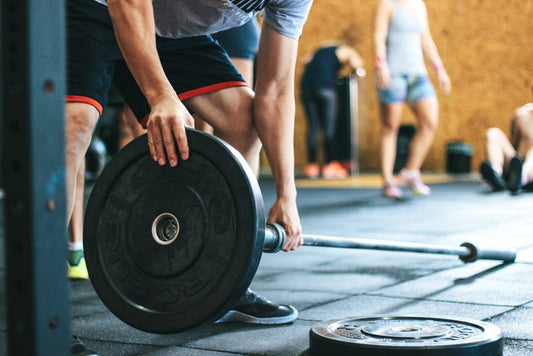
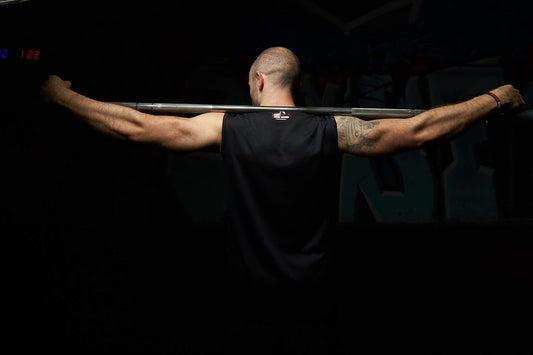
Goblet squat is a technique that has been adopted by a large number of CrossFit athletes, and it majorly involves performing squat without using a long list of cues. There...
Why You Should Include Goblet Squats in Your Cr...
Goblet squat is a technique that has been adopted by a large number of CrossFit athletes, and it majorly involves performing squat without using a long list of cues. There...
3 Advantages of Performing Toes to Bar Cross Tr...
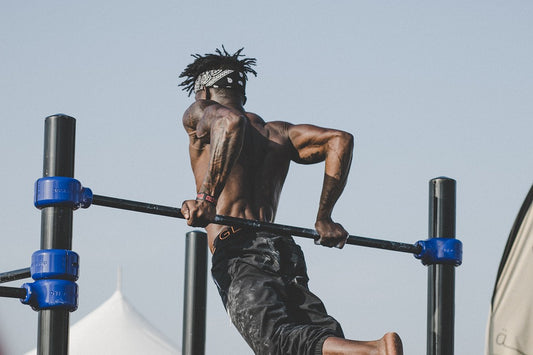
Some of the top CrossFit athletes display amazing levels of abdominal training and core strength. When you get an opportunity to watch CrossFit games, you will undoubtedly see some of...
3 Advantages of Performing Toes to Bar Cross Tr...
Some of the top CrossFit athletes display amazing levels of abdominal training and core strength. When you get an opportunity to watch CrossFit games, you will undoubtedly see some of...
Understanding Blood Sugar and Insulin Regulatio...
The human body is complex. It comprises numerous organs, body parts, structures, and individual cells which are in constant coordination with each other. Each of the systems strives to maintain...
Understanding Blood Sugar and Insulin Regulatio...
The human body is complex. It comprises numerous organs, body parts, structures, and individual cells which are in constant coordination with each other. Each of the systems strives to maintain...

Tips on Cross Training Workouts to Enhance Your...
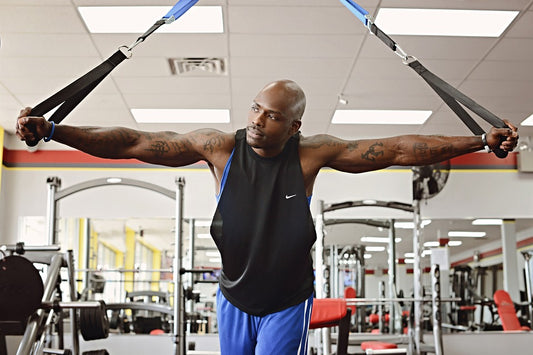
Building muscle takes a lot of hard work, awareness, and planning. You need to know what stimulates muscle growth if you want to take your fitness program a notch higher....
Tips on Cross Training Workouts to Enhance Your...
Building muscle takes a lot of hard work, awareness, and planning. You need to know what stimulates muscle growth if you want to take your fitness program a notch higher....
Cross Training Workouts: The Importance of Half...
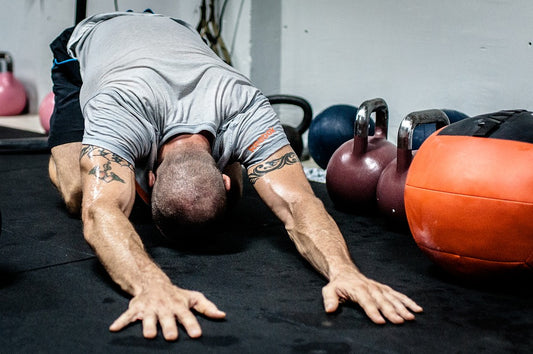
CrossFit can be addictive because of the fun and the results it brings. However, all work with no play can undermine your results in the medium term and the long...
Cross Training Workouts: The Importance of Half...
CrossFit can be addictive because of the fun and the results it brings. However, all work with no play can undermine your results in the medium term and the long...
Cross Training Exercises: Respecting the Cross ...
When you go to a CrossFit gym, you may find one of the two types of CrossFit. The first type consists of an exercise routine with functional movements performed at...
Cross Training Exercises: Respecting the Cross ...
When you go to a CrossFit gym, you may find one of the two types of CrossFit. The first type consists of an exercise routine with functional movements performed at...